Create Auto User in Azure
This section helps to create an auto user in Azure Active Directory.
Perform the following steps to create an auto user in Azure Active Directory.
To create an auto user in Azure Active Directory:
-
Log in to Microsoft Azure using the obtained credentials.
-
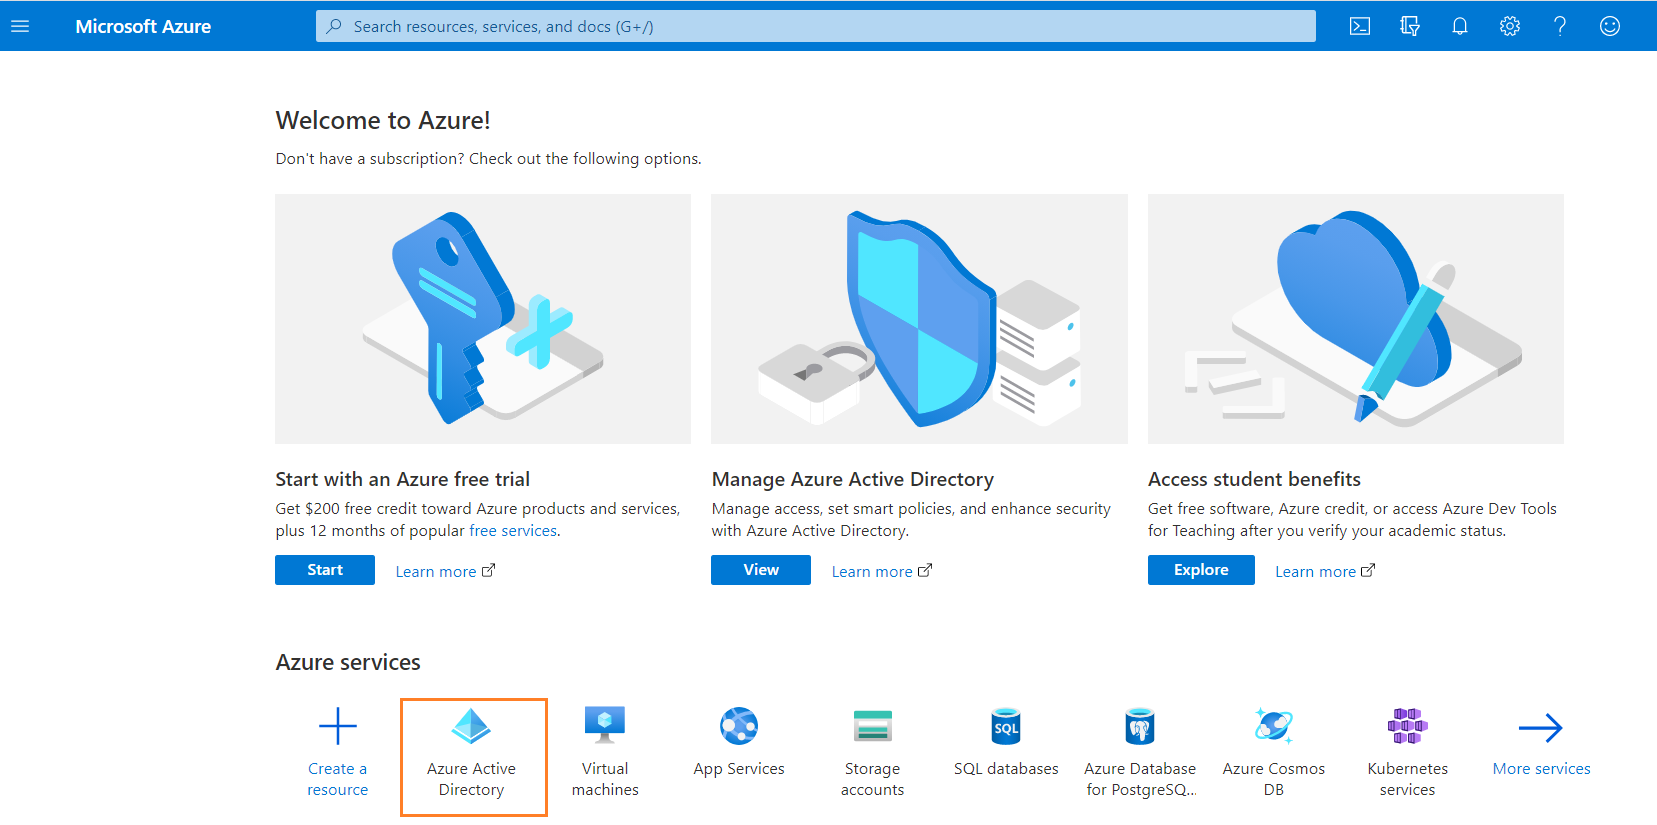
From the list of available Azure services, choose Azure Active Directory.
The Overview page appears on the screen.
-
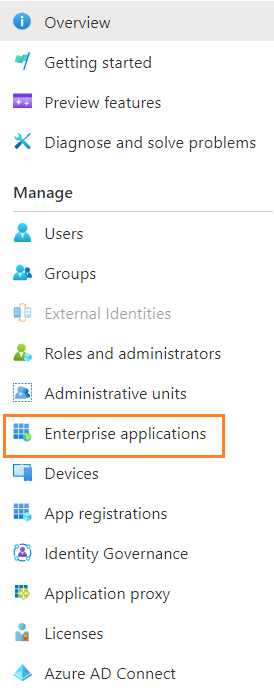
Click on Enterprise applications in the left pane.
-
Select desired enterprise application from the list. The overview of the selected application appears.
-
Select Single sign-on from the left pane. You can also select from the Overview page by clicking Set up single sign on under Getting started.
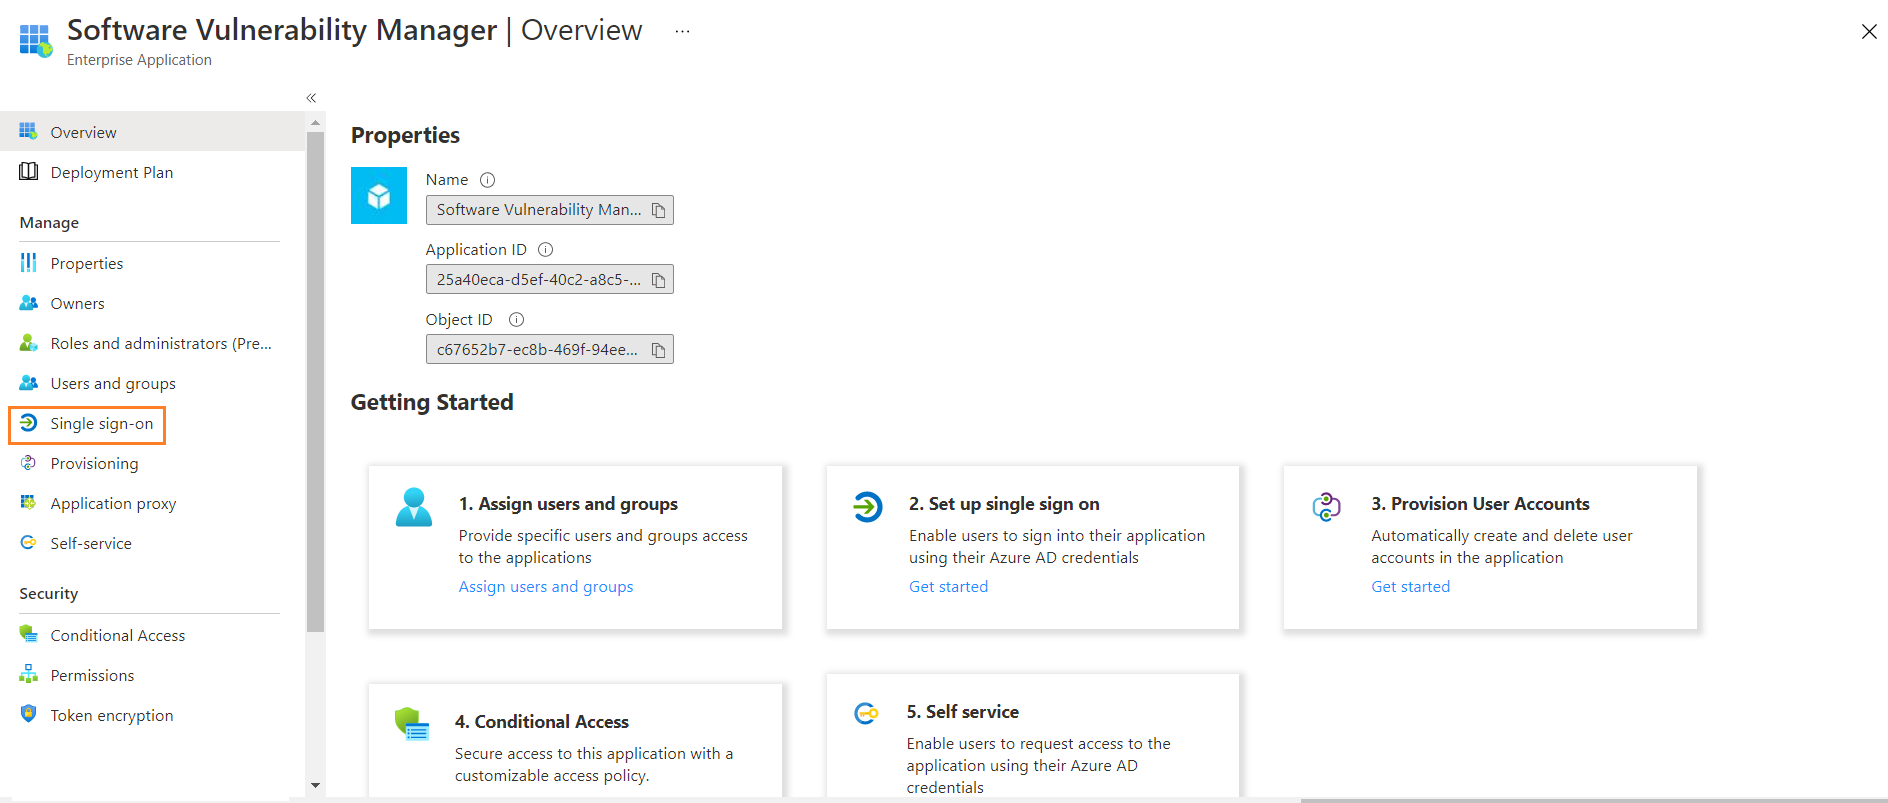
The Set up Single Sign-On page appears.
note-
Make sure that assigned users or groups to the enterprise application. For more information, see Assign Users to the Enterprise Application.
-
Make sure that the Automatically create new user option has been checked while configuring SSO. For more information, see Set up Single Sign-On (SSO) in Azure.
-
-
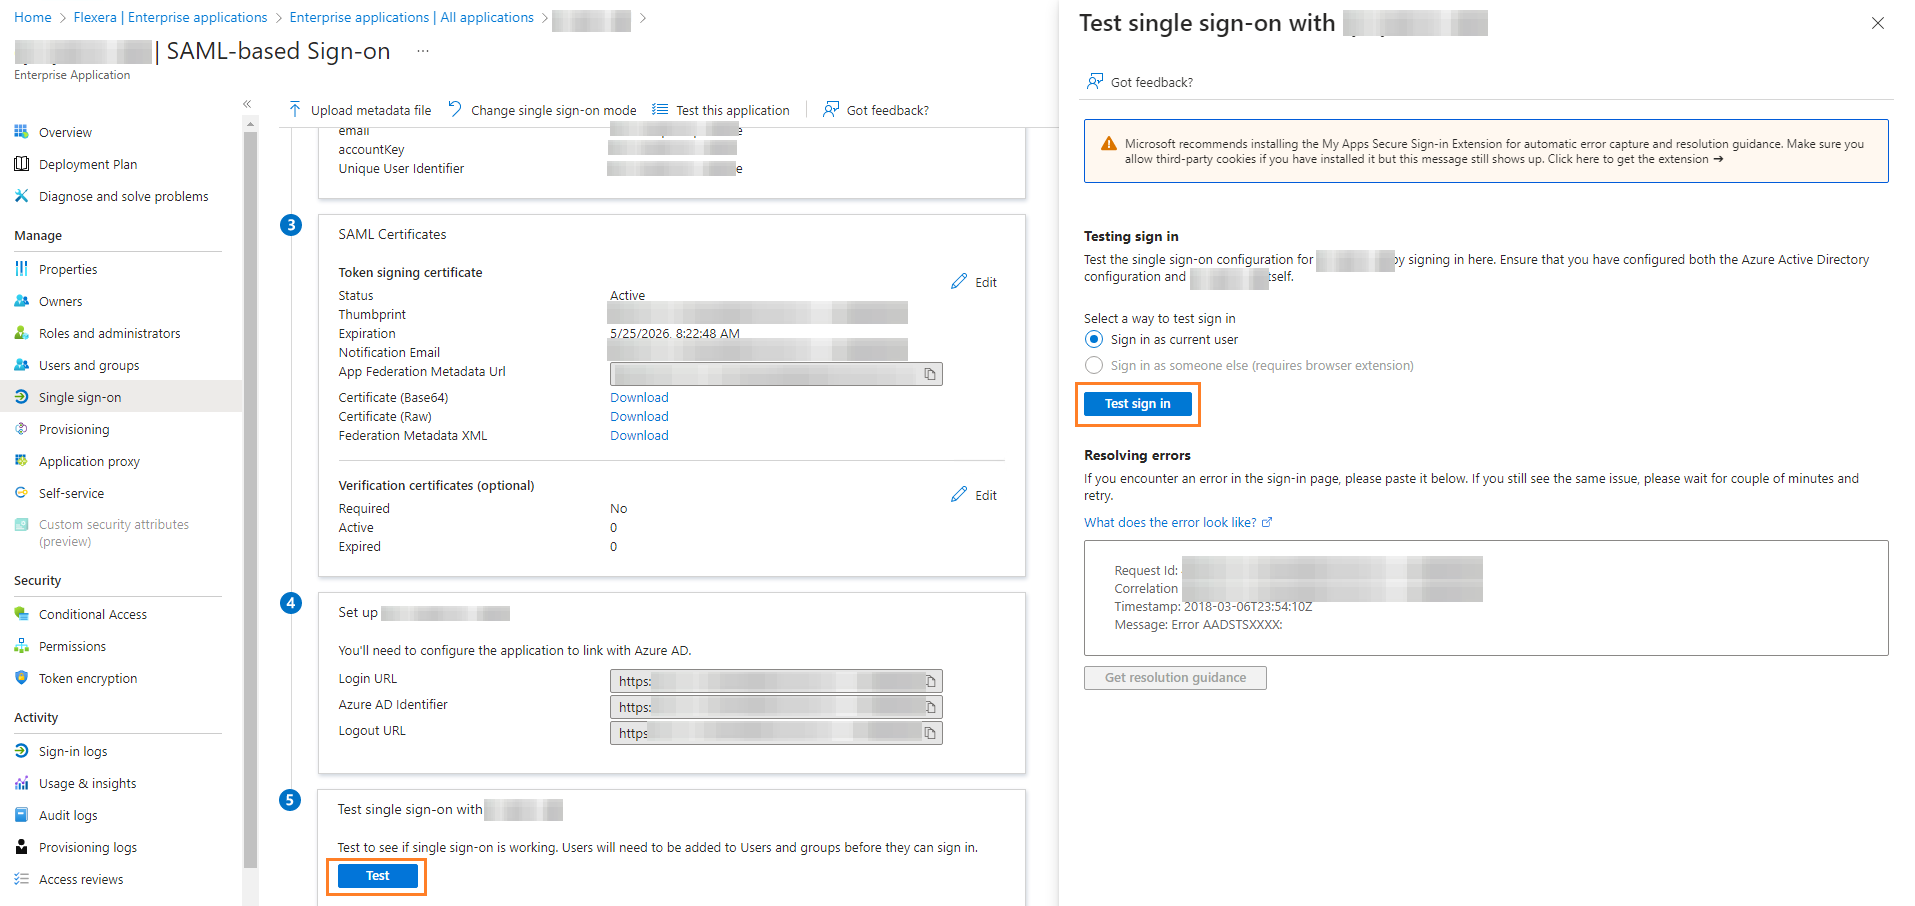
Click Test. The Test single sign-on appears on the right side. Click the Test Sign in button.
-
Upon successful action, auto user will be created and navigates to the Software Vulnerability Manager application.